
Dealing with mould on wooden surfaces can feel overwhelming, especially in South Wales. However, PRBGE is here to help you tackle this common problem effectively. Serving Cardiff, Swansea, Newport, Bridgend, Neath Port Talbot, Rhondda Cynon Taf, Vale of Glamorgan, Merthyr Tydfil, Caerphilly, and Pontypridd, we understand the unique challenges homeowners face across the region. This comprehensive guide will walk you through proven methods to remove mould from every wooden surface in your South Wales home.
Why Wooden Mould is Common in South Wales Homes
South Wales experiences high humidity and frequent rainfall throughout the year. Consequently, these conditions create the perfect environment for mould growth. Your wooden furniture, windows, and floors are particularly vulnerable.
Moreover, many homes in the region have older construction with limited ventilation. This lack of airflow traps moisture inside, accelerating mould development. Additionally, temperature fluctuations cause condensation on cold surfaces.
PRBGE has observed that certain wooden items are more prone to mould:
- Window frames and sills
- Bathroom wooden floors
- Kitchen worktops and chopping boards
- Garden furniture and fences
- Indoor furniture near external walls
Furthermore, mould poses serious health risks to your family. It can trigger allergies, respiratory problems, and asthma attacks. Therefore, addressing mould quickly is essential for both property value and health.
The economic impact shouldn’t be ignored either. Mould damage can decrease your home’s value significantly. In fact, untreated mould can lead to expensive structural repairs. That’s why PRBGE emphasizes early intervention and proper treatment techniques.
Understanding Mould on Wood: Types and Causes
Before you start cleaning, understanding what you’re dealing with is crucial. Different mould types require slightly different approaches.
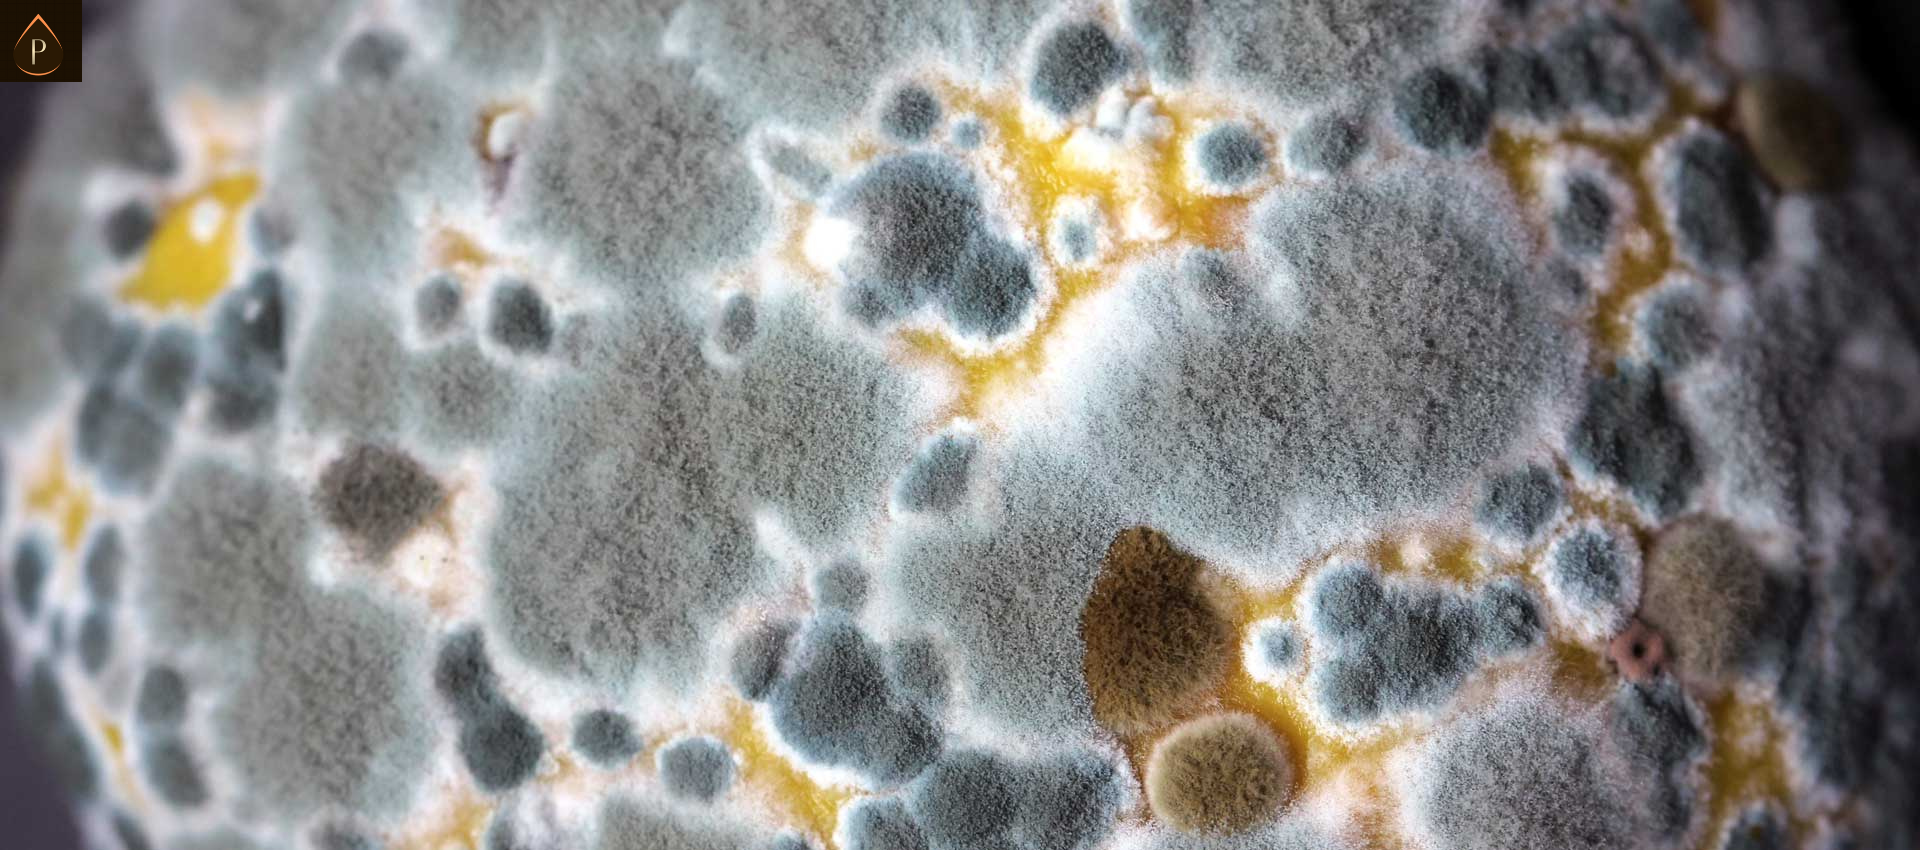
Black Mould (Stachybotrys chartarum)
Black mould appears dark green or black with a slimy texture. It’s the most concerning type due to potential health effects. Additionally, it typically indicates serious moisture problems.
This mould commonly appears on:
- Bathroom wooden floors
- Window frames with condensation
- Kitchen worktops near sinks
- Basement wooden structures
Black mould releases mycotoxins that can cause severe health issues. Therefore, handling it requires proper safety precautions.
Green Mould and Algae
Green mould usually affects outdoor wooden surfaces like fences and furniture. Unlike black mould, it’s often algae or less harmful mould species. However, it still damages wood over time.
PRBGE frequently encounters green mould on:
- North-facing fence panels
- Garden sheds with poor drainage
- Outdoor furniture stored improperly
- Decking in shaded areas
Meanwhile, the appearance is typically powdery or fuzzy. It thrives in damp, shaded locations with limited sunlight.
Root Causes of Mould Growth
Understanding causes helps prevent future problems. Mould requires three conditions: moisture, warmth, and organic material (wood).
Humidity above 60% encourages rapid mould development. Poor ventilation traps this moisture inside your home. Additionally, water leaks from plumbing or roofs provide direct moisture sources.
Temperature also plays a role in mould growth. Most mould species thrive between 15-27°C (59-80°F). Furthermore, lack of sunlight on wooden surfaces prevents natural drying.
PRBGE recommends addressing these root causes alongside cleaning efforts. Otherwise, mould will simply return within weeks.
Essential Safety Precautions Before Starting
Your safety must come first when removing mould. PRBGE insists on proper protective equipment for all mould removal projects.
Required Personal Protective Equipment
Never attempt mould removal without these items:
- N95 or FFP2 respirator mask (protects lungs from spores)
- Nitrile gloves (prevent skin contact)
- Safety goggles (shield eyes from splashes)
- Old clothing or disposable coveralls
- Shoe covers (prevent spreading spores)
Additionally, ensure good ventilation throughout the cleaning process. Open windows and doors to allow fresh air circulation. However, avoid using fans that might spread spores to other areas.
Area Preparation Steps
Before starting, prepare your workspace properly. First, remove nearby items that mould could contaminate. Then, seal off the area with plastic sheeting if possible.
Turn off your HVAC system temporarily to prevent spore circulation. Moreover, have plastic bags ready for disposing of contaminated materials.
When Professional Help is Necessary
Some situations require PRBGE professionals rather than DIY attempts:
- Mould covering more than 1 square metre
- Visible structural damage to wood
- Mould returning repeatedly after cleaning
- Health conditions like asthma or allergies
- Sewage-related mould contamination
Furthermore, don’t attempt removal if wood feels soft or spongy. This indicates serious rot requiring professional assessment.
Your Mould Removal Arsenal: Complete Checklist
Having the right tools makes mould removal much easier. PRBGE recommends gathering everything before you start.
Essential Cleaning Tools
You’ll need these basic items:
- HEPA vacuum cleaner (captures tiny spores)
- Soft-bristled scrubbing brushes in various sizes
- Microfibre cloths for wiping
- Spray bottles for applying solutions
- Buckets for mixing cleaners
- Fine-grit sandpaper (220-grit for stubborn cases)
- Stiff brush for outdoor surfaces
Additionally, have plenty of clean water available for rinsing. Paper towels are useful for final drying.
Best Cleaning Solutions Compared
PRBGE recommends different solutions depending on the wood type and location.
White Vinegar works excellently for most indoor wooden surfaces. It penetrates porous wood and kills mould at the roots. Moreover, it’s non-toxic and safe around children and pets. The acetic acid content effectively destroys 82% of mould species.
However, vinegar requires patience. You must let it sit for at least one hour for maximum effectiveness.
Bleach Solution suits outdoor wooden surfaces better. It kills surface mould quickly and removes stains effectively. Nevertheless, bleach doesn’t penetrate porous wood deeply. Therefore, mould can return if roots remain.
Furthermore, bleach produces harmful fumes and can damage wood fibres. PRBGE only recommends it for outdoor use with proper dilution (1:4 ratio).
Hydrogen Peroxide (3%) offers a gentle alternative for light-coloured wood. It won’t discolour surfaces like bleach might. Additionally, it’s safer than bleach while still being effective.
Tea Tree Oil provides a natural antiseptic option. Mix 1 teaspoon with 1 cup water for treatment. Although expensive, it smells pleasant and works well.
Baking Soda works best for deodorizing and mild cleaning. Mix with water to create a paste. However, its mould-killing power is limited compared to other options.
Critical Warning: Never Mix Cleaning Products
PRBGE strongly warns against mixing vinegar and bleach. This combination creates toxic chlorine gas that can cause serious health problems. Always use one product at a time.
Similarly, don’t mix different commercial cleaners together. Stick to one method per cleaning session.
Step-by-Step: Universal Wooden Mould Removal Method
This proven process works for most wooden surfaces. However, surface-specific adjustments may be necessary.
Step 1: Assess the Damage Thoroughly
Start by examining all affected areas carefully. Take photos to document the extent of mould growth. Additionally, measure the affected area to determine if professional help is needed.
Check for the moisture source causing the problem. Look for leaks, condensation, or poor ventilation. Moreover, test the wood’s structural integrity by pressing gently.
Step 2: Dry Out the Area Completely
Mould cannot survive without moisture. Therefore, drying is your first active step. Use dehumidifiers to reduce humidity to 30-50%.
Increase ventilation by opening windows and using fans. Allow 24-48 hours for thorough drying before cleaning. Meanwhile, fix any leaks or moisture sources immediately.
PRBGE emphasizes this step because cleaning wet mould spreads spores more easily.
Step 3: Vacuum Loose Mould Spores
Use only HEPA filter vacuums for this step. Regular vacuums will spread spores through exhaust air. Gently vacuum all visible mould without pressing hard.
Work slowly and methodically across the entire surface. Afterwards, immediately dispose of the vacuum bag outside. If using a bagless vacuum, clean the canister thoroughly outdoors.
Step 4: Apply Your Chosen Cleaning Solution
PRBGE recommends white vinegar for most indoor wooden surfaces. Pour undiluted vinegar into a spray bottle. Spray generously over all mouldy areas.
For outdoor wood, you can use diluted bleach (1:4 ratio) instead. Apply from top to bottom to prevent streaking. However, ensure nearby plants are protected from bleach exposure.
Let the solution sit for at least one hour. Vinegar needs this time to penetrate and kill mould roots. Don’t wipe it off prematurely.
Step 5: Scrub the Affected Area
After the solution has worked, begin scrubbing gently. Use a soft-bristled brush for delicate indoor surfaces. Apply moderate pressure while working in circular motions.
Follow the wood grain direction to avoid damage. For stubborn stains, reapply solution and scrub again. Additionally, check crevices and carved details carefully.
Outdoor surfaces can withstand stiffer brushes. However, never use wire brushes that might splinter wood.
Step 6: Rinse Away Residue
Wipe the surface with a clean, damp cloth. Remove all cleaning solution residue thoroughly. Nevertheless, avoid saturating the wood with excessive water.
For outdoor furniture, a gentle rinse with a garden hose works well. However, don’t use pressure washers as they damage wood fibres.
Step 7: Dry Thoroughly Before Moving Forward
This step is absolutely critical for success. Use clean, dry towels to remove excess moisture. Then, allow the wood to air dry completely.
Position fans to increase air circulation around the surface. Ensure 100% dryness before applying any protective treatments. This typically requires 24-48 hours minimum.
PRBGE has seen many cases where insufficient drying led to mould returning quickly.
Step 8: Sand Deep-Set Mould If Necessary
Sometimes mould stains penetrate deep into wood grain. In these cases, light sanding becomes necessary. Use 220-grit or finer sandpaper for this task.
Sand gently in the direction of the wood grain only. Remove the resulting dust with a damp cloth. Then, allow the surface to dry completely again.
Step 9: Apply Protective Treatment
Protect your newly cleaned wood from future mould growth. For indoor furniture, apply wood polish or conditioning oil. This seals the surface and adds a protective barrier.
Outdoor wood requires weather-resistant sealant or stain. PRBGE recommends products with mould-resistant properties. Follow the manufacturer’s instructions carefully for best results.
Allow proper curing time before using the item. This ensures maximum protection and longevity.
Step 10: Monitor for Recurrence
Check the treated area weekly for the first month. Look for any signs of returning mould. Additionally, monitor humidity levels in the surrounding area.
Maintain proper ventilation to prevent future problems. Control humidity with dehumidifiers if necessary. Furthermore, address any new moisture sources immediately.
How to Remove Mould from Wooden Furniture
Indoor wooden furniture requires gentle treatment to preserve finishes. PRBGE specializes in furniture restoration alongside mould removal.
Indoor Furniture Treatment Process
First, move the furniture outdoors if weather permits. This prevents spreading spores inside your home. However, work in a well-ventilated room if outdoor work isn’t possible.
Vacuum all surfaces thoroughly using your HEPA vacuum. Pay special attention to crevices and carved details. Then, test your cleaning solution on a hidden area first.
For untreated wood, apply undiluted white vinegar directly. However, polished furniture needs a gentler approach. Start with soapy water, then follow with diluted vinegar (1:4 ratio).
Apply the solution with a spray bottle or damp cloth. Never saturate wooden furniture with excessive liquid. Let the solution work for 15-30 minutes on polished surfaces.
Scrub gently with a soft brush, following the wood grain. Wipe clean with a slightly damp cloth. Then, dry immediately with clean towels.
Allow the furniture to air dry for 24-48 hours. Finally, restore the finish with appropriate wood polish or oil. PRBGE recommends beeswax polish for antique pieces.
Special Considerations for Valuable Pieces
Antique or valuable furniture requires extra caution. Consider professional assessment before attempting DIY cleaning. Moreover, test all solutions on inconspicuous areas first.
Carved details need small, soft brushes for thorough cleaning. However, avoid excessive moisture in joints and crevices. Additionally, veneer surfaces are particularly vulnerable to water damage.
Prevention Tips for Indoor Furniture
Keep furniture at least 10cm away from external walls. This prevents condensation damage and improves air circulation. Additionally, maintain indoor humidity between 40-50%.
Dust wooden furniture weekly to remove mould spores before they establish. Apply furniture wax or polish every three months. Furthermore, avoid placing furniture near bathrooms or kitchens where humidity is higher.
PRBGE recommends using a hygrometer to monitor humidity levels. This simple device helps you maintain ideal conditions throughout your home.
How to Remove Mould from Windows and Frames
Window frames are mould magnets in South Wales homes. Condensation creates perfect conditions for black mould growth. Therefore, PRBGE receives numerous calls about this specific problem.
Why Windows Get Mouldy
Temperature differences between indoor and outdoor air cause condensation. This moisture accumulates on cold window surfaces, especially in winter. Additionally, poor ventilation around windows traps this moisture.
Single-glazed windows are particularly problematic in the UK climate. Furthermore, gaps in window sealant allow rain penetration. These factors combine to create ideal mould conditions.
Window Frame Cleaning Method
Start by removing curtains and blinds temporarily. Vacuum the window track, sill, and frame thoroughly. Then, prepare warm water mixed with washing-up liquid.
Scrub the entire frame with this soapy solution first. This removes surface dirt and prepares the area. Rinse with a damp cloth and dry completely.
For black mould stains, apply undiluted white vinegar. Let it sit for one hour minimum for deep penetration. Meanwhile, ensure good ventilation by opening other windows.
Scrub gently with a soft brush after the waiting period. Focus on corners and crevices where mould hides. Wipe clean with a damp cloth several times.
Dry the frame immediately and thoroughly with towels. Then, allow air drying with good ventilation for several hours.
Addressing Root Causes
Cleaning alone won’t solve recurring window mould. You must address the underlying moisture problem simultaneously. Check window sealant around the frame for gaps or cracks.
Replace damaged sealant to prevent rain penetration. Additionally, ensure window drainage holes (weep holes) aren’t blocked. These small holes allow moisture to escape.
Install trickle vents if your windows lack them. These provide continuous gentle ventilation even when windows are closed. Moreover, consider secondary glazing for older single-glazed windows.
PRBGE often recommends dehumidifiers for rooms with persistent condensation. This simple addition can dramatically reduce moisture levels.
Daily Prevention Strategies
Open windows daily for 15-20 minutes minimum, even in winter. This releases humid air and brings in fresh, drier air. Additionally, use trickle vents overnight for continuous ventilation.
Wipe condensation from windows every morning during cold months. This simple habit prevents mould before it starts. Furthermore, keep heating consistent rather than turning it on and off.
Avoid drying clothes near windows without proper ventilation. Moreover, use extractor fans when cooking or showering. These practices significantly reduce moisture accumulation.
